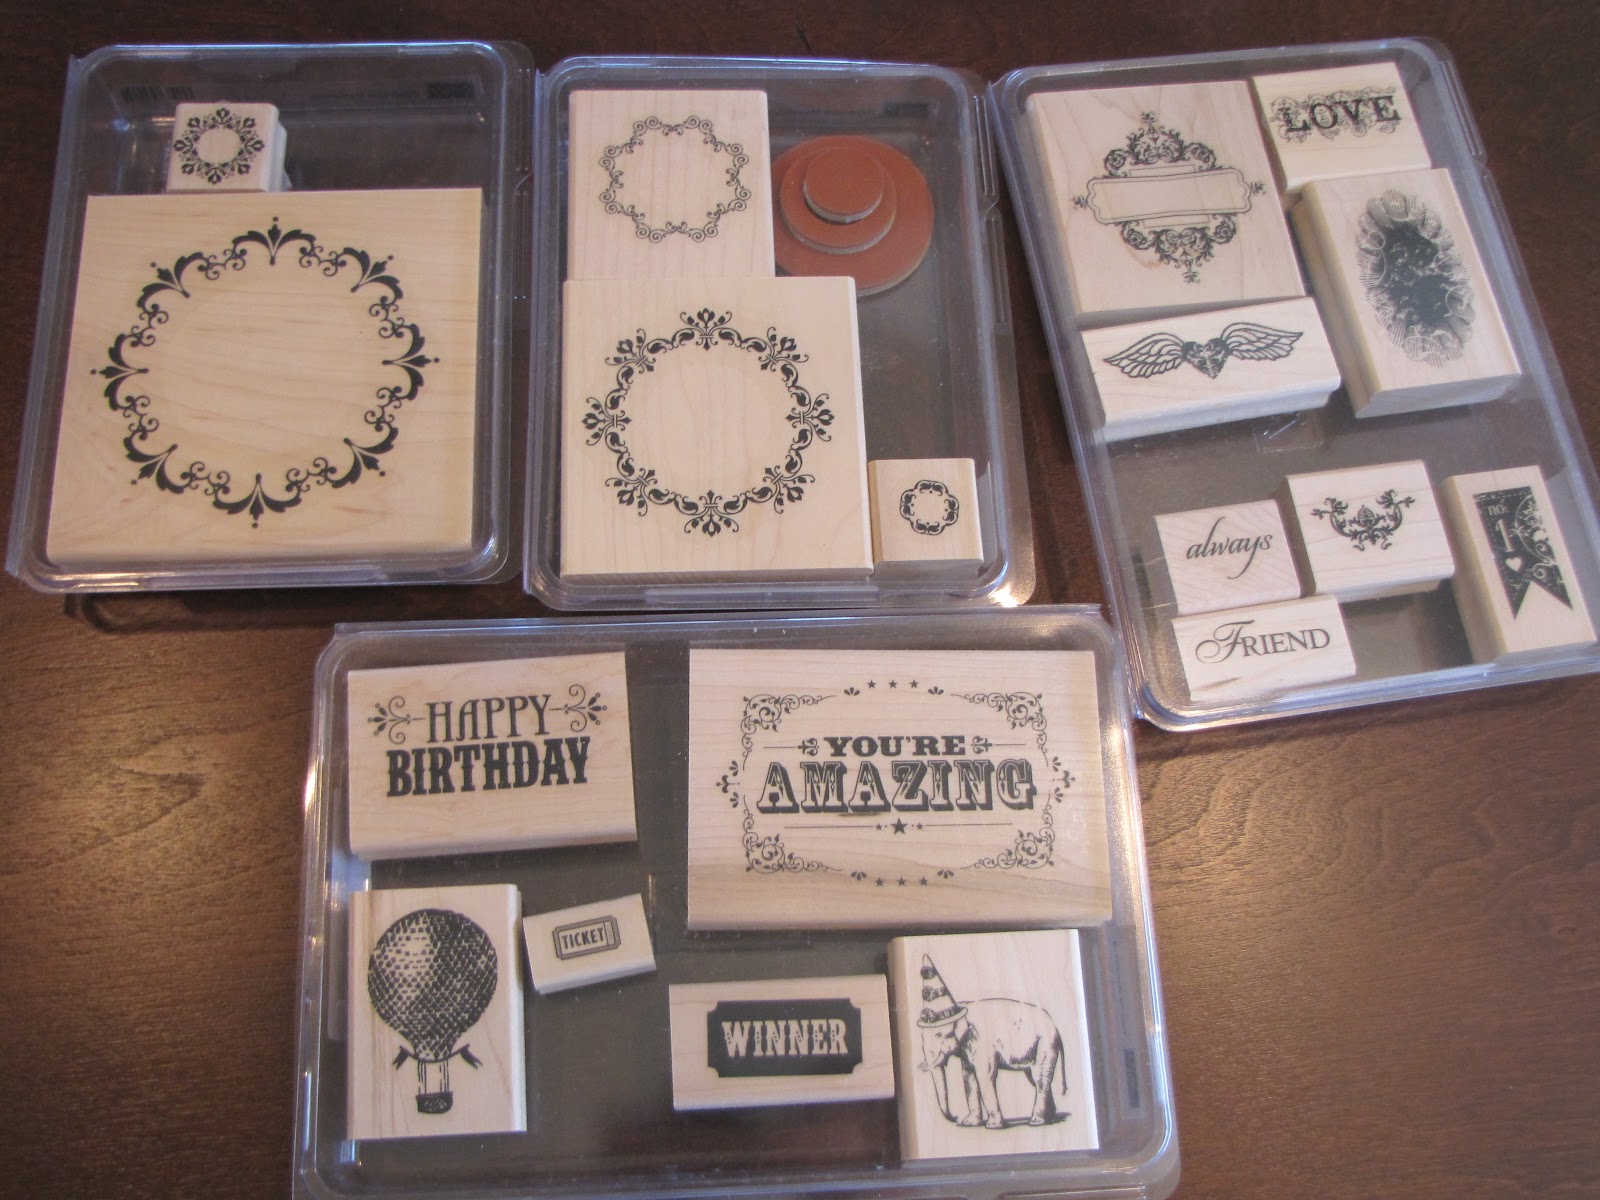
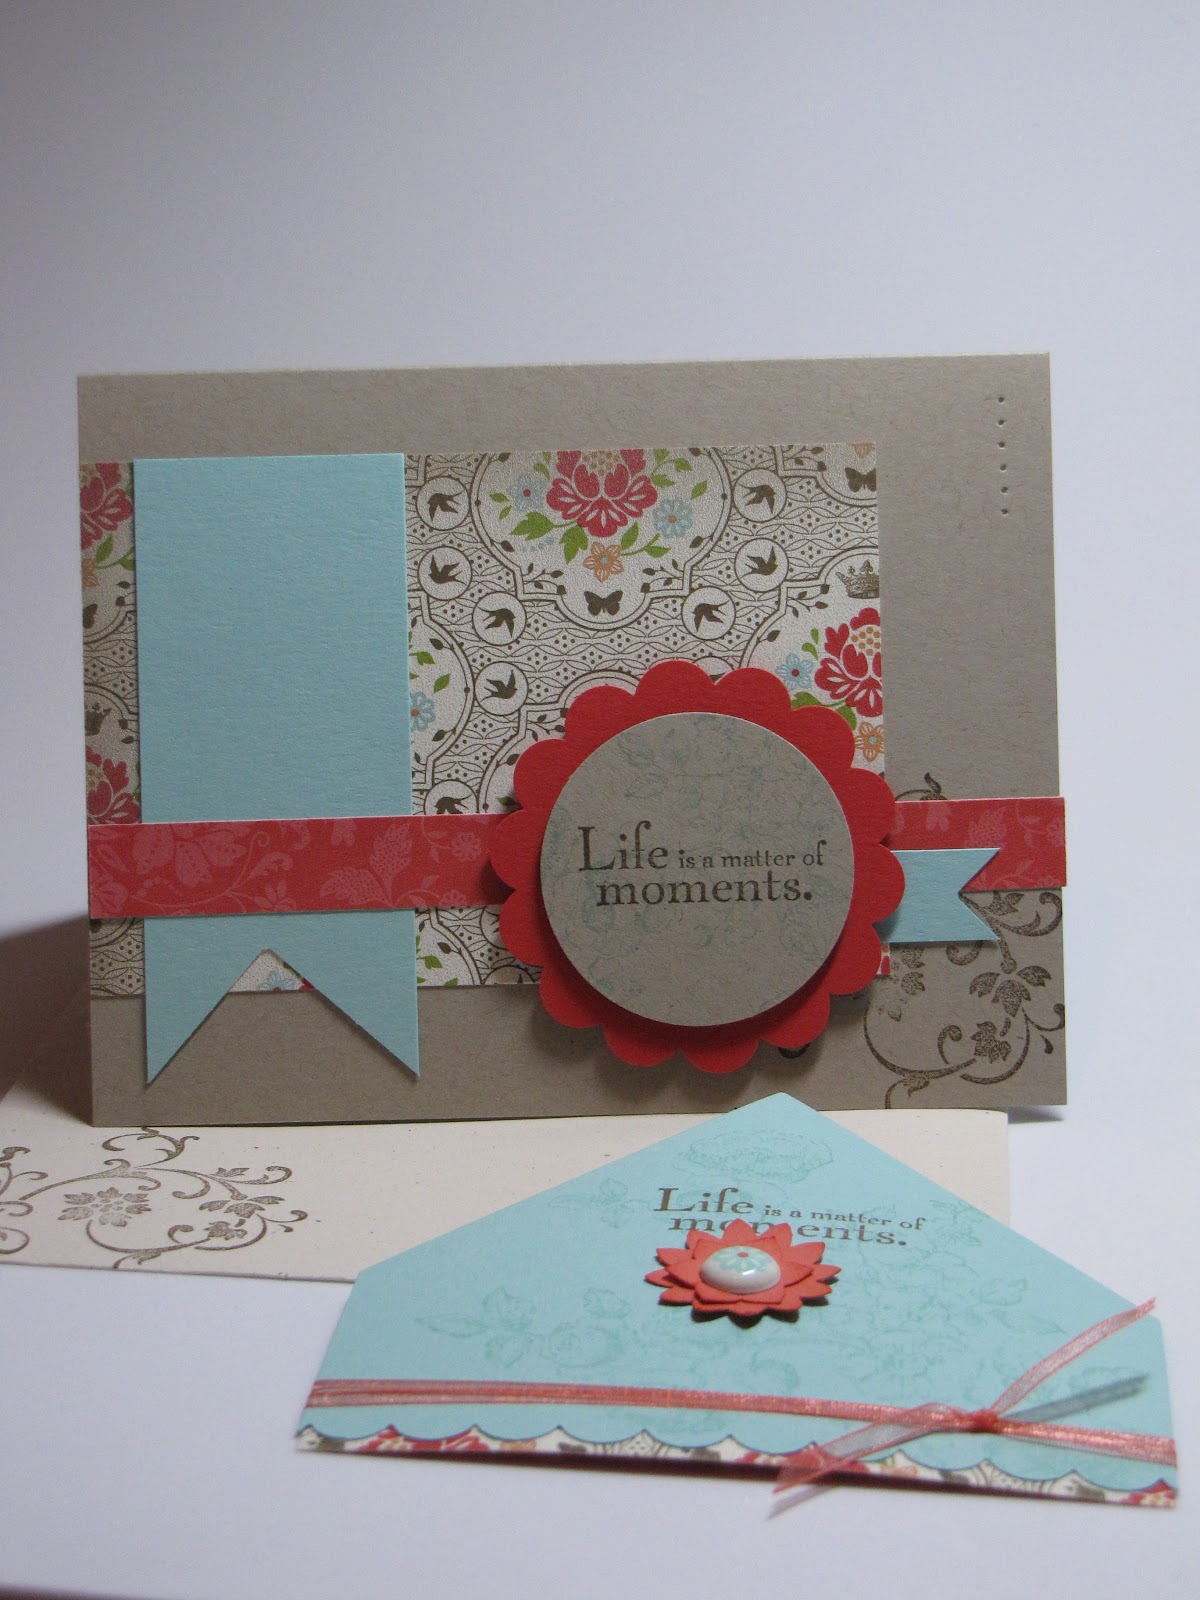
My Mom asked me to put together a pretty frame with an old photo of her and two of her long time friends. This photo was taken in the 1970's and I absolutely love it. I also made two additional ones, with one going to each of her friends which are identical to this one.
All of the items were Stampin' Up! products (except the photo and frame).
Friday, May 10, 2013
Monday, May 6, 2013
Sending you love
I recently made this card for a sweet friend of mine. She and her family had a sad incident occur and I wanted to let her know we were thinking of them. I got the layout idea from the "Mojo Monday" Blog.
The card measured 4 1/2 x 4 1/2.
Card Stock: Soft Suede, Naturals White, Cajun Craze
DSP: Comfort Cafe
Ink: Soft Suede, Midnight Muse
Ribbon: 1/2" seam binding (Very Vanilla)
Stamp Set: Betsy's Blossoms, Easy Events
Embossing folder (used with Big Shot): Vine Street (from Sale-a-bration)
The envelope was made from the Comfort Cafe DSP. I used a template from fellow Stampin' Up! Demonstrator, Mary Fish. She is amazing!
The card measured 4 1/2 x 4 1/2.
Card Stock: Soft Suede, Naturals White, Cajun Craze
DSP: Comfort Cafe
Ink: Soft Suede, Midnight Muse
Ribbon: 1/2" seam binding (Very Vanilla)
Stamp Set: Betsy's Blossoms, Easy Events
Embossing folder (used with Big Shot): Vine Street (from Sale-a-bration)
The envelope was made from the Comfort Cafe DSP. I used a template from fellow Stampin' Up! Demonstrator, Mary Fish. She is amazing!
Saturday, May 4, 2013
Things to share
What is this Paper Pumpkin all about? Well, let me tell ya. It's a great thing to get started. It's basically a subscription, via Stampin' Up!, for $19.95 a month. Once you subscribe, you will receive a package every month with stamps, ink, paper and accessories to creat projects like cards, 3-D items and more. The paper is cut, measured and ready to create. It sounds like an amazing package to receive every month and everything is ready to go!
See the sidebar with a link to be directed to the Paper Pumpkin site where you can read more about it and/or sign up. Enjoy!
Photopolymer Stamps
Stampin' Up! is trying out a new type of stamps, Photopolymer Stamps. They are being offered on a trial basis and are not currently included in the catalog.
What makes them so great?
- They're entirely transparent for perfect placement every time
- They are durable. The photopolymer material is designed to last
- They stick amazingly well to our clear blocks
- They're age tested and won't yellow or cloud up over time
Click HERE to learn more about them.
May 1 - June 15th, 2013
Get 25% off select My Digital Studio content and print products.
Digital Content includes: ALL ensemble, calendar, photobook, and swatchbook digital content.
Print products include: ALL photobooks, swatchbooks, cards, tags, individual pages, and calendars.
Saturday, January 5, 2013
My Little Valentine Promotion
FREE Card Kit
January 3 - 21, 2013
FREE Sealed with Love Simply Sent Kit when you buy the brand new My Little Valentine Stamp Set.
This Stamp set available in:
(132242) My Little Valentine (English, clear mount) @ $9.95
(132245) Enamorados (Spanish, clear mount) @$9.95
(132248) Mon petit amour (French, clear mount) @ $9.95
(Sealed with Love Simply Sent Kit)
I'm loving this Stamp Set and Simply Sent Kit! How excited do you think your friends or family would be if they received a sweet Valentine project, from you, using these products!
Valentine Treat Bundle
January 3rd - 21st, 2013
This is the perfect Bundle to get your Valentine's Day Projects off to a great start. This stamp set would be so cute to make treats for your kids classmates or your girlfriends. Check out the cute project Stampin' Up posted in the photo above.
This Bundle includes:
- Happy Valentine Heart (Single Stamp, English only)
- A pkg. of 1" x 8" Cellophane Bags
Monday, October 29, 2012
Sell-a-Stamp Spooktacular
Today, October 29th, Stampin' Up! has a great one day deal for ya! You get 15% off your Stamps. See below post for more details or visit my site.
Saturday, October 27, 2012
Sell-a-Stamp Spooktacular
One Day Only
Monday, October 29, 2012
"Sell-a-Stamp Spooktacular"
On Monday, Oct.29th, Stampin' Up! is is offering 15% off almost every stamp set they sell!
*Starting at 12:00 AM (mountain time) and ends at 11:50 PM (mountain time). Converts to starting 11pm (pacific time) on Sunday, Oct.28th and ends at 10:50 PM (pacific time) on Monday.
All stamps in the current catalogs including:
- Background Stamps
- Personalized name stamps
- Cookie press stamps
- Single image stamps
Does not include:
- Hostess sets
- Bundled Stamps sets
- Digital Stamp brush sets
FREE Festive Paper-Piercing Pack
During the month of October, Stampin' Up! is offering this great promotion. Last day to get this take part in this promotion is October 31, 2012 (online: 11:50pm (mountain time). There are no limits as to how many bundles you can order.
It's only October, but Stampin' Claus is coming to town! Get a FREE Festive Paper-Piercing Pack when you purchase the Ornament Keepsakes Set and Candlelight Christmas Specialty Designer Series Paper.
When ordering, you must use the listed item numbers in order to receive the FREE Festive Paper-Piercing Pack.
It's only October, but Stampin' Claus is coming to town! Get a FREE Festive Paper-Piercing Pack when you purchase the Ornament Keepsakes Set and Candlelight Christmas Specialty Designer Series Paper.
When ordering, you must use the listed item numbers in order to receive the FREE Festive Paper-Piercing Pack.
| ||||||||||||||||||||||||||||||||||||||||||||
Wednesday, August 29, 2012
Happy Birthday!
I made the below items for a sweet friends Birthday. I could not make it to her Garden Birthday Party so I thought I would make her something "Garden" themed. The below pic is everything that went into the decorated gift bag. The petite pocket is holding a gift card, the square purple box is holding some ribbon and embellishments and the purple rectangle box contains lip gloss. Then in the background are a couple of pre-made cards bundled together.
I just love the colors going on here. Ooops...I just noticed the adhesive coming loose on the box. OK...mental note, next time, more adhesive or sticky strip. :0)
For the "Just for You" stick, I cut a lollipop stick in half and adhered the punched out card stock to it with hot glue.
Here is a closer look at the boxes.
This is what I used to decorate a plain white gift bag. As you can see, I also stamped on the tissue paper which was placed inside the gift bag. It adds extra color and stands out against the white bag.
Here is a close up of the die cut items on the front of the gift bag.
Items used for these projects:
Card Stock: Melon Mambo, Whisper White, Elegant Eggplant, Gumball Green, Summer Starfruit
DSP: Newsprint
Ink: Elegant Eggplant, Melon Mambo
Stamp Sets: Betsy's Blossoms, Mixed Bunch,Perfectly Preserved
Punches: Boho Blossoms, Blossom
Embellishments: Basic Pearls,Large Basic Pearls, Linen Thread,3/8" stitched Satin Ribbon (Summer Starfruit)
Brads: 3/16" Brights
Essentials Paper-Piercing Pack
Big Shot with Bigz Beautiful Butterflys, Apothecary Accents Framelits, Bitty Banners Framelits, Little Leaves Sizzlits, Beautiful Wings Embosslits, Vintage Wallpaper Folder
To get the pearl shine to the Melon Mambo flowers: after I punched them out, I sprayed them with Stampin' Spritzer which had Rubbing Alcohol combined with Frost White Shimmer Paint.
I just love the colors going on here. Ooops...I just noticed the adhesive coming loose on the box. OK...mental note, next time, more adhesive or sticky strip. :0)
For the "Just for You" stick, I cut a lollipop stick in half and adhered the punched out card stock to it with hot glue.
Here is a closer look at the boxes.
This is what I used to decorate a plain white gift bag. As you can see, I also stamped on the tissue paper which was placed inside the gift bag. It adds extra color and stands out against the white bag.
Here is a close up of the die cut items on the front of the gift bag.
Items used for these projects:
Card Stock: Melon Mambo, Whisper White, Elegant Eggplant, Gumball Green, Summer Starfruit
DSP: Newsprint
Ink: Elegant Eggplant, Melon Mambo
Stamp Sets: Betsy's Blossoms, Mixed Bunch,Perfectly Preserved
Punches: Boho Blossoms, Blossom
Embellishments: Basic Pearls,Large Basic Pearls, Linen Thread,3/8" stitched Satin Ribbon (Summer Starfruit)
Brads: 3/16" Brights
Essentials Paper-Piercing Pack
Big Shot with Bigz Beautiful Butterflys, Apothecary Accents Framelits, Bitty Banners Framelits, Little Leaves Sizzlits, Beautiful Wings Embosslits, Vintage Wallpaper Folder
To get the pearl shine to the Melon Mambo flowers: after I punched them out, I sprayed them with Stampin' Spritzer which had Rubbing Alcohol combined with Frost White Shimmer Paint.
Friday, August 17, 2012
Time with a dear friend....
I recently had one of my closest and dearest friends, Amber Domene, and her girls over for a few days. It was a fabulous time. I always enjoy spending time with her and the family. While our kids played, Amber and I got lots of time to play in my craft room. It's so neat how we can simply sit and work away doing our paper crafts and be so relaxed. I loved every second of it! Thanks, Amber!!
Here are some of the things I made while we were crafting away...
This was made using:
I had fun making this one. You can put any small object inside the pouch (ex: gift card, tea bag, etc.). I placed a tea bag inside so that you would get a better idea of the size, I used a velcro closure to help keep it closed. Here is what I used to make this one.
~Vanessa
Here are some of the things I made while we were crafting away...
This was made using:
- A clear stamp case
- Stamp set: Mixed Bunch (125537), Four Frames (123442)
- Card Stock: Elegant Eggplant (105126), Summer Starfruit (126839), Whisper White (100730)
- DSP: First Edition Specialty (121878)
- Ink: Elegant Eggplant (126969), Summer Starfruit (126991), Baja Breeze (126960)
- Punch: Blossom (125603), Decorative Label (120907)
- Ribbon: Baja Breeze 1/2" Seam Binding (122331)
I had fun making this one. You can put any small object inside the pouch (ex: gift card, tea bag, etc.). I placed a tea bag inside so that you would get a better idea of the size, I used a velcro closure to help keep it closed. Here is what I used to make this one.
- Stamp set: I am (set I received at Convention this year)
- Card Stock: Summer Starfruit (126839), Midnight Muse (126843), Raspberry Ripple (126842)
- Ink: Summer Startfruit (126991), Midnight Muse (126860)
- Marker: Raspberry Ripple (126856)
- Ribbon: Midnight Muse 3/8" Stitched Satin (126847)
- Brad: 3/16" Brights (119740)
- Punch: Boho Blossoms (119858)
- Big shot using Midnight Muse card stock and Vintage Wallpaper Embossing Folder (120175). Stamped image cut out with Labels Collection Framelits (125598)
~Vanessa
Sunday, July 29, 2012
Babies and more Babies
I recently had two cousins who had babies. One of my cousins had a girl and the other had a boy. My boy card was shown in my previous post. I am sharing the Girl card with you today. My cousins don't live close to me but I've been checking them out on FB. The babies are so adorable! Enjoy. Have a great day!
Friday, July 27, 2012
Time to Catch Up!
As you can see, I've been away from my blog for a bit. Life has been busy. I found I was pretty busy helping out at my kids school and did not set aside much time to stamp and share. I'm so appreciative I am a stay at home mom and I can focus a lot of my attention on my kids. They are at really fun ages (6 & 7) and are fun to hang out with.
Summer is in full swing over here. I've decided we were going to have a "lay low" day today. I woke up not feeling 100%, so I'm gonna rest. Which means I will be spending much needed time in my craft room.
I went to the 2012 Stampin' Up Convention in Salt Lake City, Utah this past week. This was my 3rd time going and I loved every second. Stampin' Up is such a great company. They truly love and appreciate their demonstrators. I roomed with two friends (Alicia and Liz). I loved spending time with those two wonderful ladies.
I have so much I want to share with you about Convention but that would make this into a very, very, very long post. So, I will simply share a few things.
This is a pic of my flying into Salt Lake City, Utah. I'm not sure exactly what this is but I thought it looked pretty cool.
Here is a pic of me (on the left) with my friends Alicia and Liz. This pic was taken at the Stampin' Up Home Office. It was such a beautiful building. We were in the lunch/break area and the backdrop is an amazing set up of trees,plants,fountain, flowers, etc. and it was all inside the building. Absolutely gorgeous. I would love to work there!
Inside the building, they have an "Ideas Room" where they gather and brainstorm. Here is a pic of a corner of the room. Notice the walls are white dry erase boards? I left a little message too (in green).
At Convention, there were sooo many boards, samples and demonstrations to check out. Just to give you an idea, the below pic is just one of the many boards they had out on display. There were so many to look at and adore. These were all created by Stampin' Up Demonstrators. They are very creative. Luckily, I had a camera!
Most demonstratosr make card fronts and swap them with other demonstrators so we can all share ideas. This is the one I made for my Swap. I have the baby onesie template. If you want me to email it to ya, just let me know. I fit (4) onesies on an 8 1/2 x 11.
Supplies (all Stampin' Up)used to make the Onesie card:
Card Stock: Primrose Petals,So Saffron, Baja Breeze, Whisper White
Stamp Set: Itty Bitty Banners, Betsy's Blossoms
Ink: Baja Breeze, So Saffron
Ribbon: Baja Breeze 1/2" Seam Binding
Bling: Rhinestone Basic Jewels
Big Shot using Square Lattice folder (for Onesie) and Framelits Heart Collection (heart), Framelits Bitty Banners (Banner).
Upon check-in at Convention, this year, we received a beautiful bag full of goodies. Inside the bag were some free stamp sets. Whoo Hoo!! My upline, Alicia Christian, made the adorable bag tag. You know what's amazing....she was not sure what this years bag was going to look like so she guessed....and....BAM!....she was right on the money. She is such a great upline, I'm so lucky to have her!
Ok.....now, on to the FREE Stamps. Here is a pic of the ones we received upon check-in and got them with our lovely bag. We used these great stamps to complete our "Make-n-Takes" while at Convention.
Now, if you don't know anything about prize patrol...let me tell ya. Upon check-in, each demonstrator is given a wristband to wear. There are several colors and themes to each individual one. During General Session, when all the demonstrators are together in one place, they on occasion will call out a specific colored/designed wristband. The lucky owners will receive the FREE gift they had just shown up on the Big Screen. I won one this year! I was so excited! This is what I won. Now, I'm ready to get started on Christmas Cards!
Stampin' Up also gave away a couple more stamp sets to all of us demonstrators on the last day of Convention. Here they are...
Now, I don't want you to think Convention is ALL about the FREE stuff. All of that is a plus. What I most cherished were the classes and the special guest speaker, Jason Dorsey. I learned so much valuable information to make my business better and more fun. Not that it wasn't fun in the first place. I love my Stampin' Up products. This was a great Conference to get me re-energized and a boost to get me focused.
The Stampin' Up 2012 Convention is one I will never forget. Thank you, Stampin' Up, for Everything!!
Summer is in full swing over here. I've decided we were going to have a "lay low" day today. I woke up not feeling 100%, so I'm gonna rest. Which means I will be spending much needed time in my craft room.
I went to the 2012 Stampin' Up Convention in Salt Lake City, Utah this past week. This was my 3rd time going and I loved every second. Stampin' Up is such a great company. They truly love and appreciate their demonstrators. I roomed with two friends (Alicia and Liz). I loved spending time with those two wonderful ladies.
I have so much I want to share with you about Convention but that would make this into a very, very, very long post. So, I will simply share a few things.
This is a pic of my flying into Salt Lake City, Utah. I'm not sure exactly what this is but I thought it looked pretty cool.
Here is a pic of me (on the left) with my friends Alicia and Liz. This pic was taken at the Stampin' Up Home Office. It was such a beautiful building. We were in the lunch/break area and the backdrop is an amazing set up of trees,plants,fountain, flowers, etc. and it was all inside the building. Absolutely gorgeous. I would love to work there!
Inside the building, they have an "Ideas Room" where they gather and brainstorm. Here is a pic of a corner of the room. Notice the walls are white dry erase boards? I left a little message too (in green).
At Convention, there were sooo many boards, samples and demonstrations to check out. Just to give you an idea, the below pic is just one of the many boards they had out on display. There were so many to look at and adore. These were all created by Stampin' Up Demonstrators. They are very creative. Luckily, I had a camera!
Most demonstratosr make card fronts and swap them with other demonstrators so we can all share ideas. This is the one I made for my Swap. I have the baby onesie template. If you want me to email it to ya, just let me know. I fit (4) onesies on an 8 1/2 x 11.
Supplies (all Stampin' Up)used to make the Onesie card:
Card Stock: Primrose Petals,So Saffron, Baja Breeze, Whisper White
Stamp Set: Itty Bitty Banners, Betsy's Blossoms
Ink: Baja Breeze, So Saffron
Ribbon: Baja Breeze 1/2" Seam Binding
Bling: Rhinestone Basic Jewels
Big Shot using Square Lattice folder (for Onesie) and Framelits Heart Collection (heart), Framelits Bitty Banners (Banner).
Upon check-in at Convention, this year, we received a beautiful bag full of goodies. Inside the bag were some free stamp sets. Whoo Hoo!! My upline, Alicia Christian, made the adorable bag tag. You know what's amazing....she was not sure what this years bag was going to look like so she guessed....and....BAM!....she was right on the money. She is such a great upline, I'm so lucky to have her!
Ok.....now, on to the FREE Stamps. Here is a pic of the ones we received upon check-in and got them with our lovely bag. We used these great stamps to complete our "Make-n-Takes" while at Convention.
Now, if you don't know anything about prize patrol...let me tell ya. Upon check-in, each demonstrator is given a wristband to wear. There are several colors and themes to each individual one. During General Session, when all the demonstrators are together in one place, they on occasion will call out a specific colored/designed wristband. The lucky owners will receive the FREE gift they had just shown up on the Big Screen. I won one this year! I was so excited! This is what I won. Now, I'm ready to get started on Christmas Cards!
Stampin' Up also gave away a couple more stamp sets to all of us demonstrators on the last day of Convention. Here they are...
Now, I don't want you to think Convention is ALL about the FREE stuff. All of that is a plus. What I most cherished were the classes and the special guest speaker, Jason Dorsey. I learned so much valuable information to make my business better and more fun. Not that it wasn't fun in the first place. I love my Stampin' Up products. This was a great Conference to get me re-energized and a boost to get me focused.
The Stampin' Up 2012 Convention is one I will never forget. Thank you, Stampin' Up, for Everything!!
Thursday, March 29, 2012
Teacher Easter Gifts
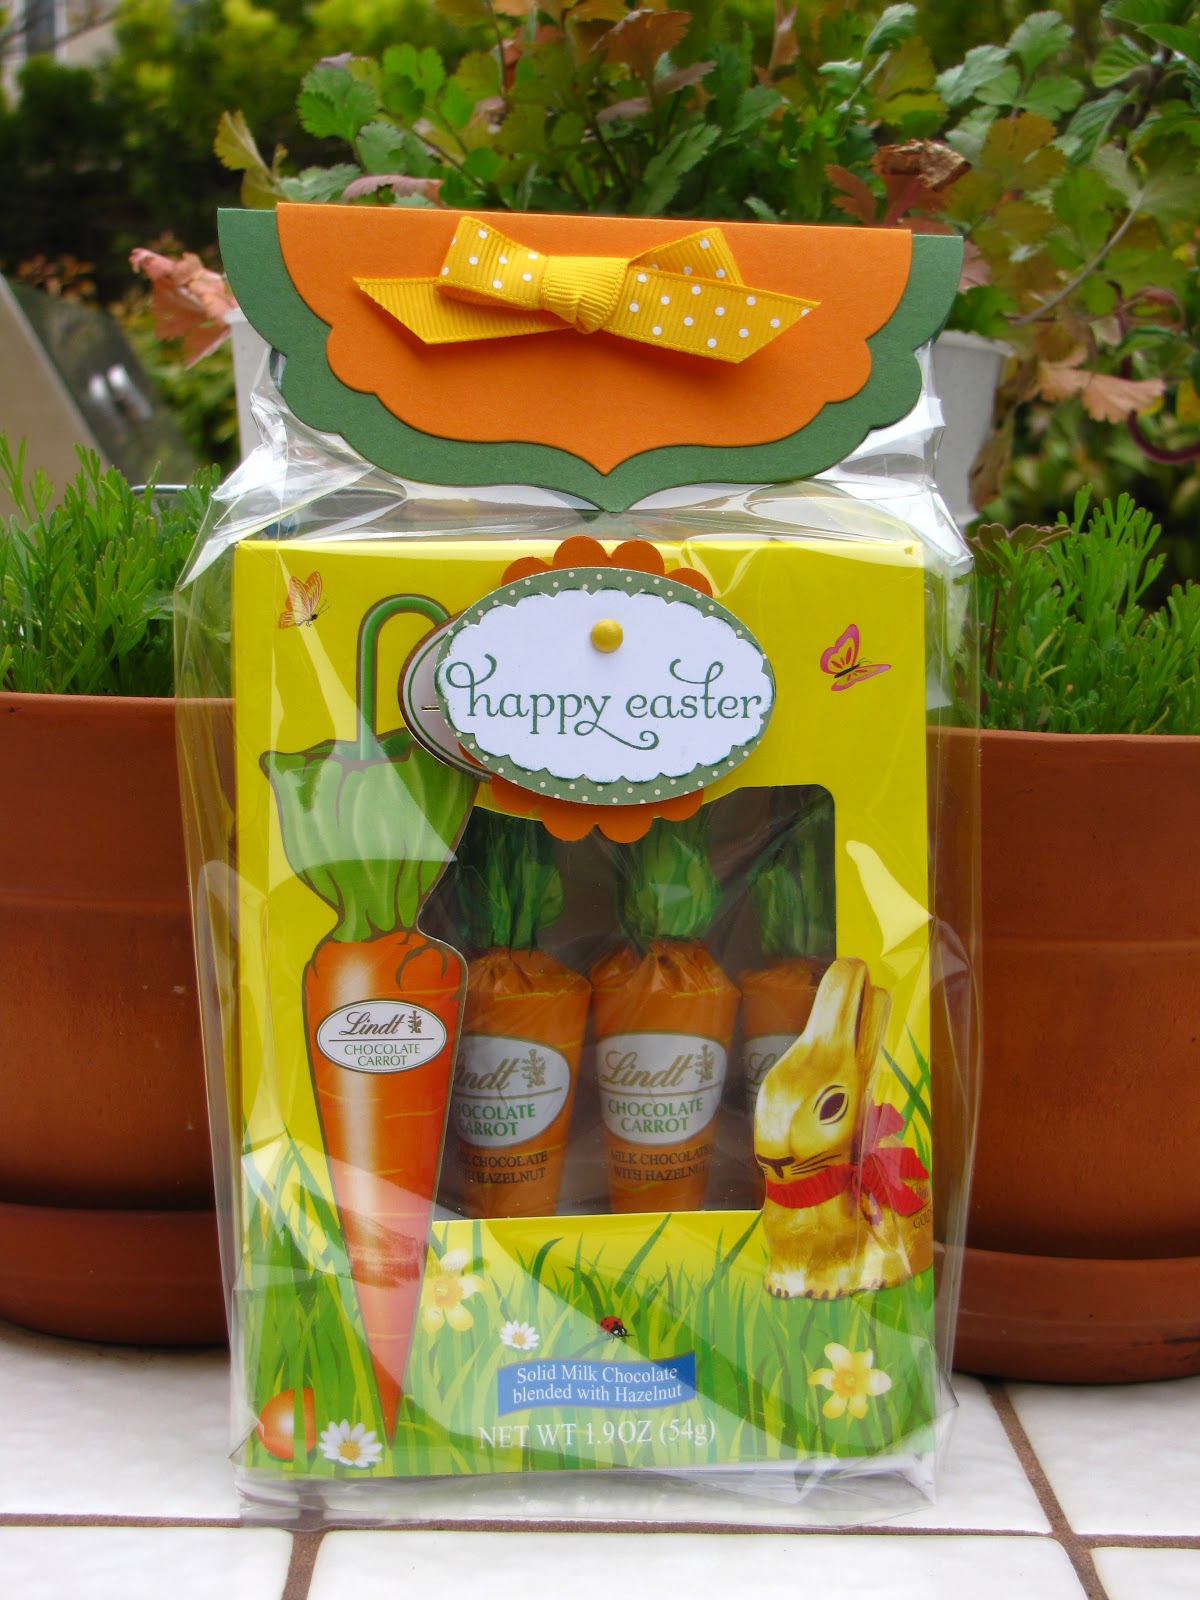
Whenever I have time, I like to do little gifts for my boys teachers to let them know how much I love and appreciate them. I made these last night for the wonderful teachers. I don't know of any teacher who does not Love Chocolate. I hope they enjoy them!
Wednesday, March 21, 2012
Birthday Gift for 8yr old Boy
My kids have a friend who recently had a Birthday and I wanted to do something different for him. He is a very sweet kid and loves the outdoors, hiking and going on adventures. So, I put together some random items to put inside of his gift bag. The items included a key chain compass, a flashlight, hand wipes, anti-bacterial gel, a notepad for his notes, 3 small clear plastic containers with lids (to hold things he collects) and a bunch of snacks (Red Vines, Cheez-It's, Cookies,etc.) to refuel when he gets hungry.
In the picture below, you will see a gift bag with a tag attached. A card I made him and a decorated notepad.
I believe I got the gift bag and large tags at Michaels. I simply decorated the tag with Stampin' Up stamps,paper and ribbon.
I scored this 9 inch x 5 3/4 inch notepad at Staples for $1. I simply used the same theme and stamps to decorate the cover.
Card Stock: Soft Sued, Not Quite Navy and Wild Wasabi, Very Vanilla
DSP: Well Worn
Ink: Soft Sued, Not Quite Navy and Wild Wasabi
Punches: 3/4 inch Circle, 1" Circle, Decorative Label
Embossing Folder (with Big Shot): Square Lattice
Ribbon: Twill Tape
Brads: Regals Collection 3/16"
Have a great day!
~Vanessa
In the picture below, you will see a gift bag with a tag attached. A card I made him and a decorated notepad.
I believe I got the gift bag and large tags at Michaels. I simply decorated the tag with Stampin' Up stamps,paper and ribbon.
I scored this 9 inch x 5 3/4 inch notepad at Staples for $1. I simply used the same theme and stamps to decorate the cover.
Supplies used
Stamp sets Delightful Dozen and Loads of LoveCard Stock: Soft Sued, Not Quite Navy and Wild Wasabi, Very Vanilla
DSP: Well Worn
Ink: Soft Sued, Not Quite Navy and Wild Wasabi
Punches: 3/4 inch Circle, 1" Circle, Decorative Label
Embossing Folder (with Big Shot): Square Lattice
Ribbon: Twill Tape
Brads: Regals Collection 3/16"
Have a great day!
~Vanessa
Saturday, March 17, 2012
Elements of Style
I've not had much time lately to spend in my craft room and I am going through withdrawals. Seriously! I need to sit down and re-evaluate my schedule and make sure I schedule more "uninterrupted" time in my little place of peace and solitude. Life just seems to take over sometimes and I don't get to do the things I want to do but spend a lot of time doing the things I have to do. I know you can understand.
Since it's a rainy day here in Camarillo, CA, and we have no plans to venture out....I am going to get some paper crafting done. Sometimes in order to get warmed up and get my creative juices flowing, I venture over to the Mojo Monday site. There are so many sketches that inspire me and get my brain ready to go.
The below card was made using one of their sketches. I also made a matching bookmark (which was cased from my Stampin' Up Magazine - Stampin' Success,April 2012 issue). I love every single issue of the magazine which are filled with soooo many beautiful creations. The only way to get the magazine to be a demonstrator. :0) Of course, this is just one of the many, many perks to be a demonstrator for Stampin' Up!
This card is pretty basic yet so cute! It can be dressed up using brads,ribbon, jewels, etc. However, if you want to make a few of these to give as a gift or to simply have on hand, they can be made rather quickly and inexpensively.
Supplies used for card:
Stamp set Elements of Style
Card Stock: Crumb Cake, Pool Party, Poppy Parade
DSP: Everyday Enchantment (Sale-a-bration catalog, last day Mar.31,2012)
Ink: Crumb Cake
Punch: 2 3/8" Scallop Circle
Extra: Paper Piercing tool
Supplies for the bookmark:
Stamp set Elements of Style
Card Stock: Pool Party, Calypso Coral
DSP: Everyday Enchantment (Sale-a-bration catalog, last day Mar.31,2012)
Punch: Boho Blossoms and Scallop Edge Border
Brad: Everyday Enchantment (Sale-a-bration catalog, last day Mar.31, 2012)
Ribbion: Everyday Enchantment (Sale-a-bration catalog,last day Mar.31,2012)
I just wanted to show you how I lined up the Card Stock to make the even punched border on the bookmark. This is a pic of where to first line up your card stock. After you make that first punch, move your card stock over, line it up and punch again until you've made your way all the way down.
Have a great day!
Since it's a rainy day here in Camarillo, CA, and we have no plans to venture out....I am going to get some paper crafting done. Sometimes in order to get warmed up and get my creative juices flowing, I venture over to the Mojo Monday site. There are so many sketches that inspire me and get my brain ready to go.
The below card was made using one of their sketches. I also made a matching bookmark (which was cased from my Stampin' Up Magazine - Stampin' Success,April 2012 issue). I love every single issue of the magazine which are filled with soooo many beautiful creations. The only way to get the magazine to be a demonstrator. :0) Of course, this is just one of the many, many perks to be a demonstrator for Stampin' Up!
This card is pretty basic yet so cute! It can be dressed up using brads,ribbon, jewels, etc. However, if you want to make a few of these to give as a gift or to simply have on hand, they can be made rather quickly and inexpensively.
Supplies used for card:
Stamp set Elements of Style
Card Stock: Crumb Cake, Pool Party, Poppy Parade
DSP: Everyday Enchantment (Sale-a-bration catalog, last day Mar.31,2012)
Ink: Crumb Cake
Punch: 2 3/8" Scallop Circle
Extra: Paper Piercing tool
Supplies for the bookmark:
Stamp set Elements of Style
Card Stock: Pool Party, Calypso Coral
DSP: Everyday Enchantment (Sale-a-bration catalog, last day Mar.31,2012)
Punch: Boho Blossoms and Scallop Edge Border
Brad: Everyday Enchantment (Sale-a-bration catalog, last day Mar.31, 2012)
Ribbion: Everyday Enchantment (Sale-a-bration catalog,last day Mar.31,2012)
I just wanted to show you how I lined up the Card Stock to make the even punched border on the bookmark. This is a pic of where to first line up your card stock. After you make that first punch, move your card stock over, line it up and punch again until you've made your way all the way down.
Have a great day!
Tuesday, March 6, 2012
Moments Birthday Card
I just love this Stamp set. I really need to use this one more often. This is actually a Birthday Card for a Sweet Friend of mine. I wanted to do something a little different than the regular card stuff. So....I used the Petite Pocket Die then embossed it. I cut a piece of Card Stock that would fit inside and attached the pink handle, so she could pull it out of the pocket. I attached a gift card, using glue dots to the card. I later wrote a Birthday message on the Card Stock for her. Now, your probably wondering how I got the ribbon to wrap around the front and not wrap around the entire pocket. Well, I used an knife and cut slits in the top and bottom crease and simply slid the ribbon through it then tied a knot on one end.
Supplies used:
Stamp Set: Elements of Style
Ink: Soft Suede, Baja Breeze
Card Stock: Soft Suede, Pink Piroutte, Naturals Ivory
Embellishments: Pearl, Silver Brads, Linen Thread, 1/2" Baja Breeze Seam Binding Ribbon
Big Shot using Petite Pocket Die, Text.Impressions Vintage Wallpaper/Designer Frames
Supplies used:
Stamp Set: Elements of Style
Ink: Soft Suede, Baja Breeze
Card Stock: Soft Suede, Pink Piroutte, Naturals Ivory
Embellishments: Pearl, Silver Brads, Linen Thread, 1/2" Baja Breeze Seam Binding Ribbon
Big Shot using Petite Pocket Die, Text.Impressions Vintage Wallpaper/Designer Frames
Subscribe to:
Posts (Atom)